What you’re actually building
The mainstream AI assistants — ChatGPT, Claude, Gemini — run in sessions. Close the tab, and the context disappears. They’re locked to one provider’s models, subject to usage caps, and you have no visibility into what happens to your data. Convenient until they aren’t.
OpenClaw is the open-source alternative. A persistent agent environment that runs 24/7, remembers what you told it last week, and lives in the apps you already use. Not in another browser tab. After a few conversations, it knows your name, your preferences, your timezone. It can search the web, summarise links, set recurring reminders, and run workflows while you’re away. It’s not a chatbot. It’s infrastructure.
The catch with self-hosted OpenClaw is that getting it production-ready is a real project. Provision compute, configure inference, sort security. Most people get halfway and stop.
Featherless Managed OpenClaw removes that entirely. You get a secure sandboxed agent environment with inference already bundled, wrapped in one fixed monthly subscription. No separate token bill. No infrastructure to manage. Sign up, pick a model, and your agent is running. Same bill whether you use it lightly or constantly.
OpenClaw handles the agent layer: persistent memory, skills, channels, and the gateway that ties it together.
Featherless.ai handles the model layer: 30,000+ open-source models, no prompt logging, flat-rate pricing.
Go to openclaw.ai, hit the Deploy with Featherless button, and you land on a Launch OpenClaw screen with two things to fill in:
- Name (optional): a friendly label for this agent, e.g. “My Assistant”
- Model: a searchable dropdown across all 30,000+ models on Featherless. The default is
MiniMaxAI/MiniMax-M2.5, a solid general-purpose starting point. Not sure what to pick? Here are a few good options:
Hit Launch Agent. Your sandbox spins up with Featherless already wired as the model backend. No API key setup. No infrastructure to manage. Your gateway dashboard opens automatically at https://18789-sbx-[your-id].sandbox.featherless.ai.
Navigating the OpenClaw control UI
Your Openclaw UI will look something like this
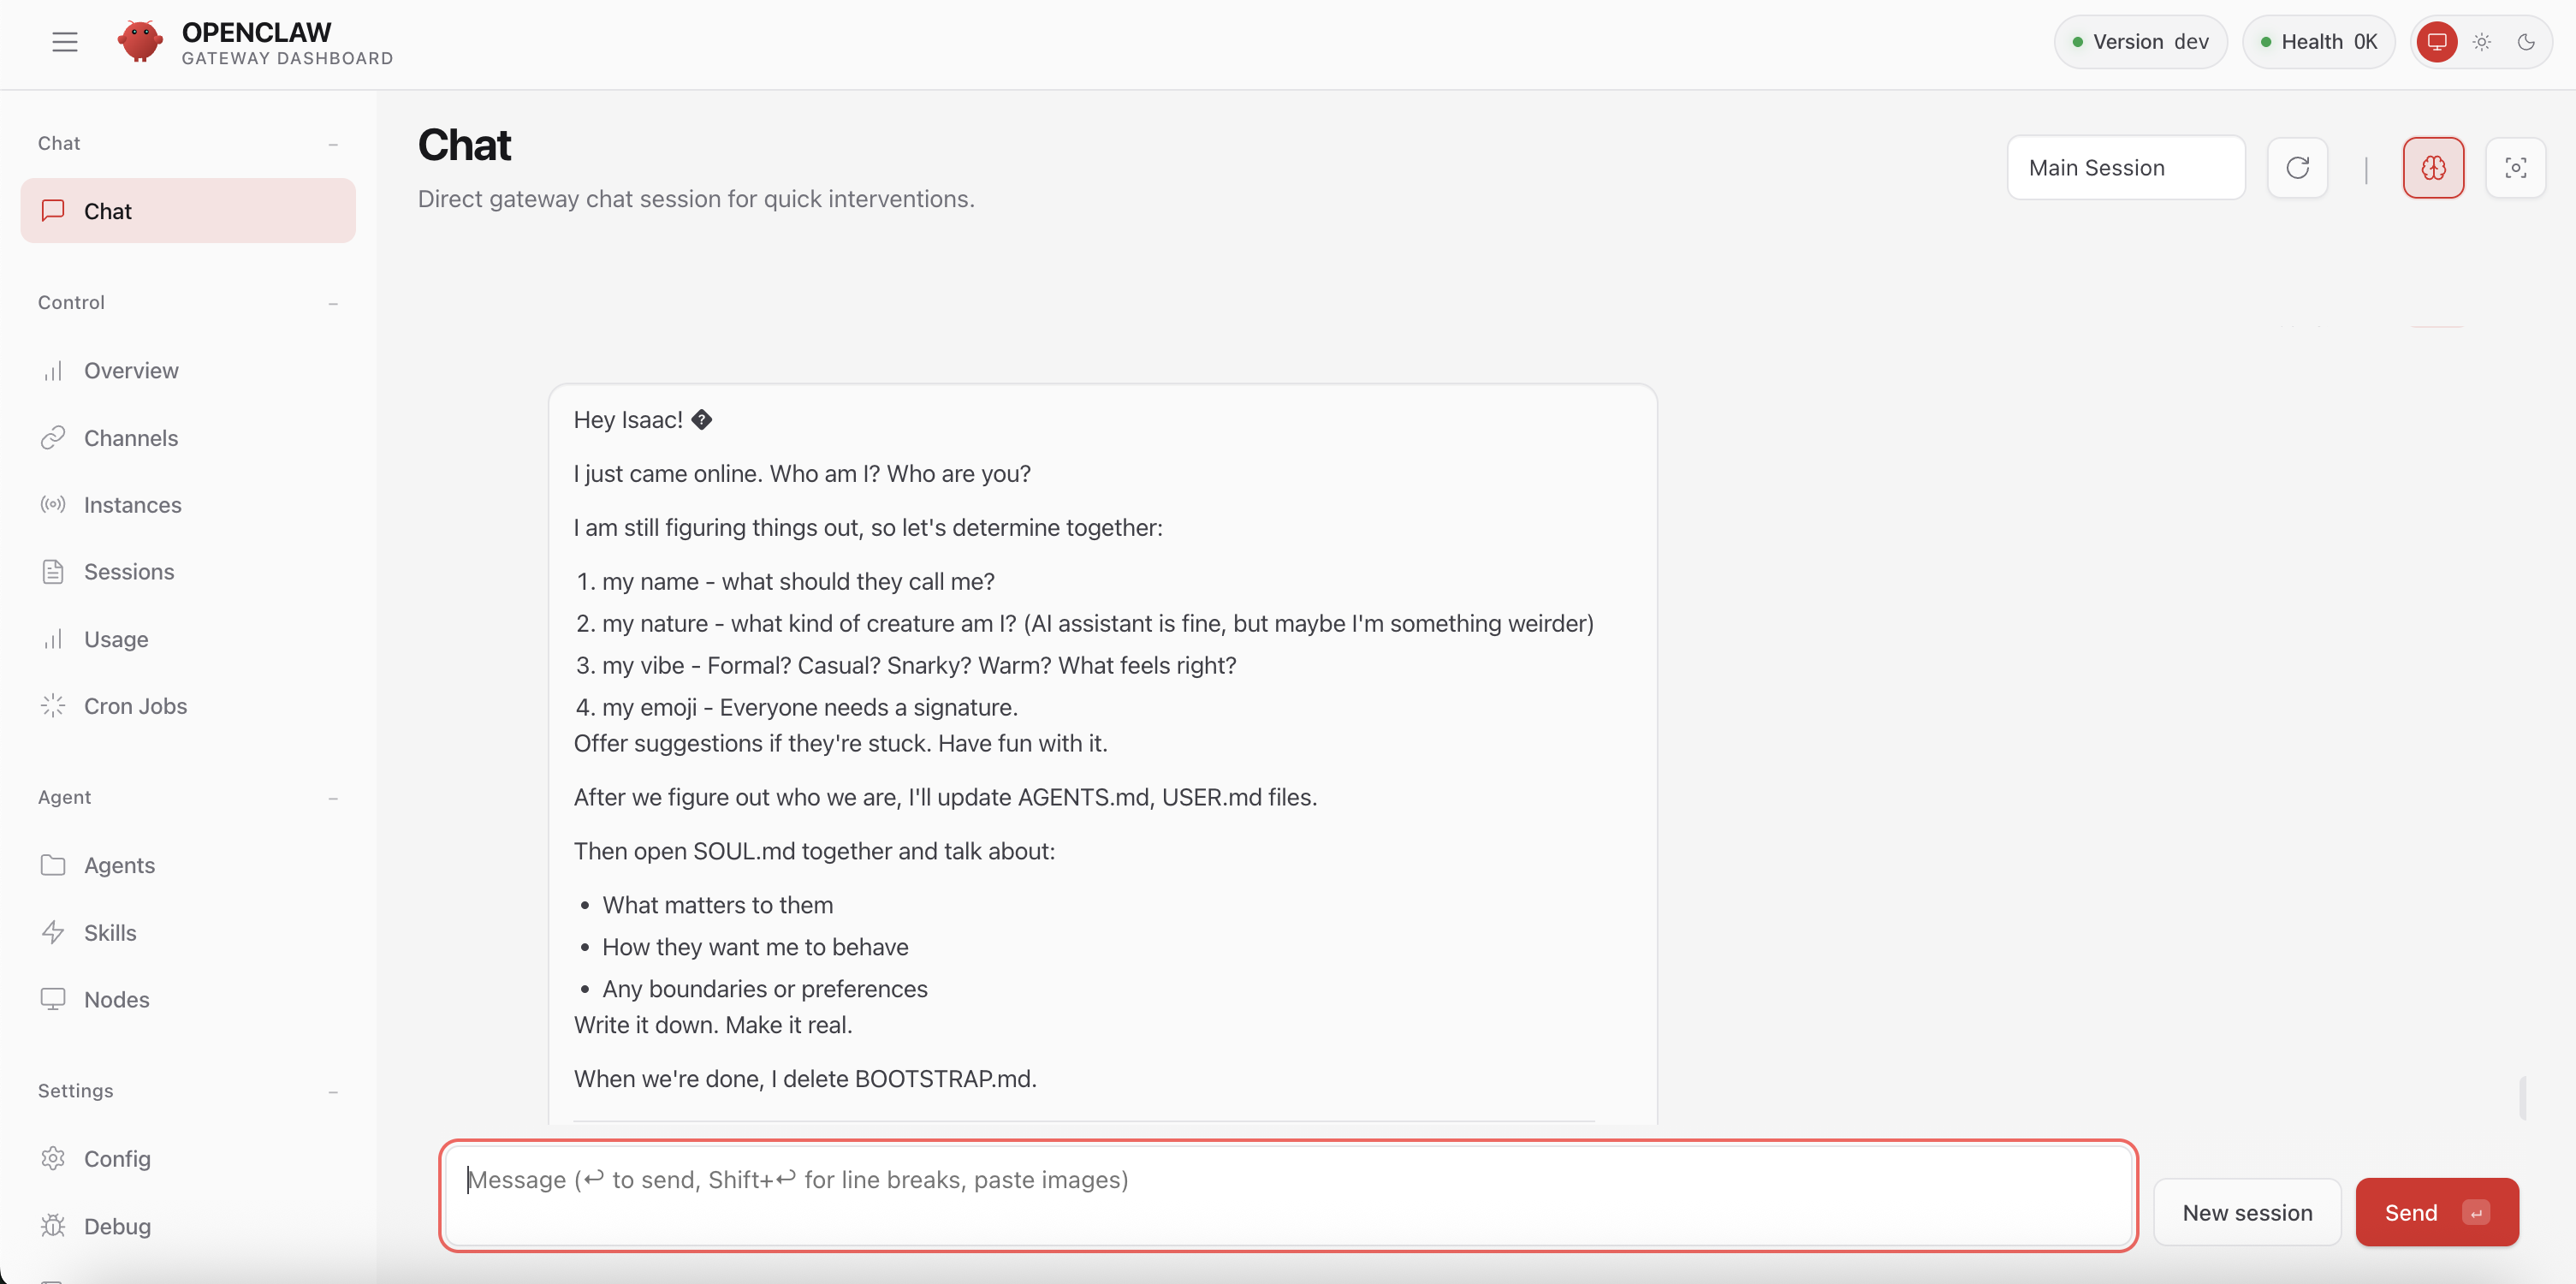
Everything in this guide happens through the OpenClaw gateway dashboard, accessible at your sandbox URL (https://18789-sbx-[your-id].sandbox.featherless.ai).
The sections you’ll use:
Chat — talk directly to your agent in the browser. The fastest way to test that everything is working before connecting any channels.
Agents — view configured agents. Click any agent to manage its workspace files (SOUL.md, MEMORY.md, etc.) via the Files tab. All files can be edited inline.
Config — edit your openclaw.json directly. Switch to Raw mode at the bottom-right to edit JSON. Hit Save to write the file, then Apply to reload the running instance.
Channels — status and settings for each connected channel (Telegram, WhatsApp, Slack, and more).
Step 1: Have your first conversation
Before connecting any channels, try the agent directly in the dashboard. Go to Chat in the sidebar. This is a full conversation interface backed by the same model and memory that Telegram will use.
Send a first message to introduce yourself:
“Hey, I’m [your name]. I work in [field]. I prefer concise answers and my timezone is CET.”
You should get a response within a few seconds. If nothing comes back, check that the gateway shows Health: OK in the top-left of the dashboard.
Try a few more things while you’re here:
Web search:
“What are the most downloaded open-source LLMs on HuggingFace this week?”
The agent has web_search available by default. It pulls live results, not training data.
URL summary:
“Can you summarise this for me? [paste any URL]”
Once you’re happy with the responses, it’s time to bring this into Telegram.
Step 2: Connect Telegram
Telegram is the easiest channel to to get integrated with. One token, one config block, done. Once it’s set up you have the same agent from your phone without opening a browser.
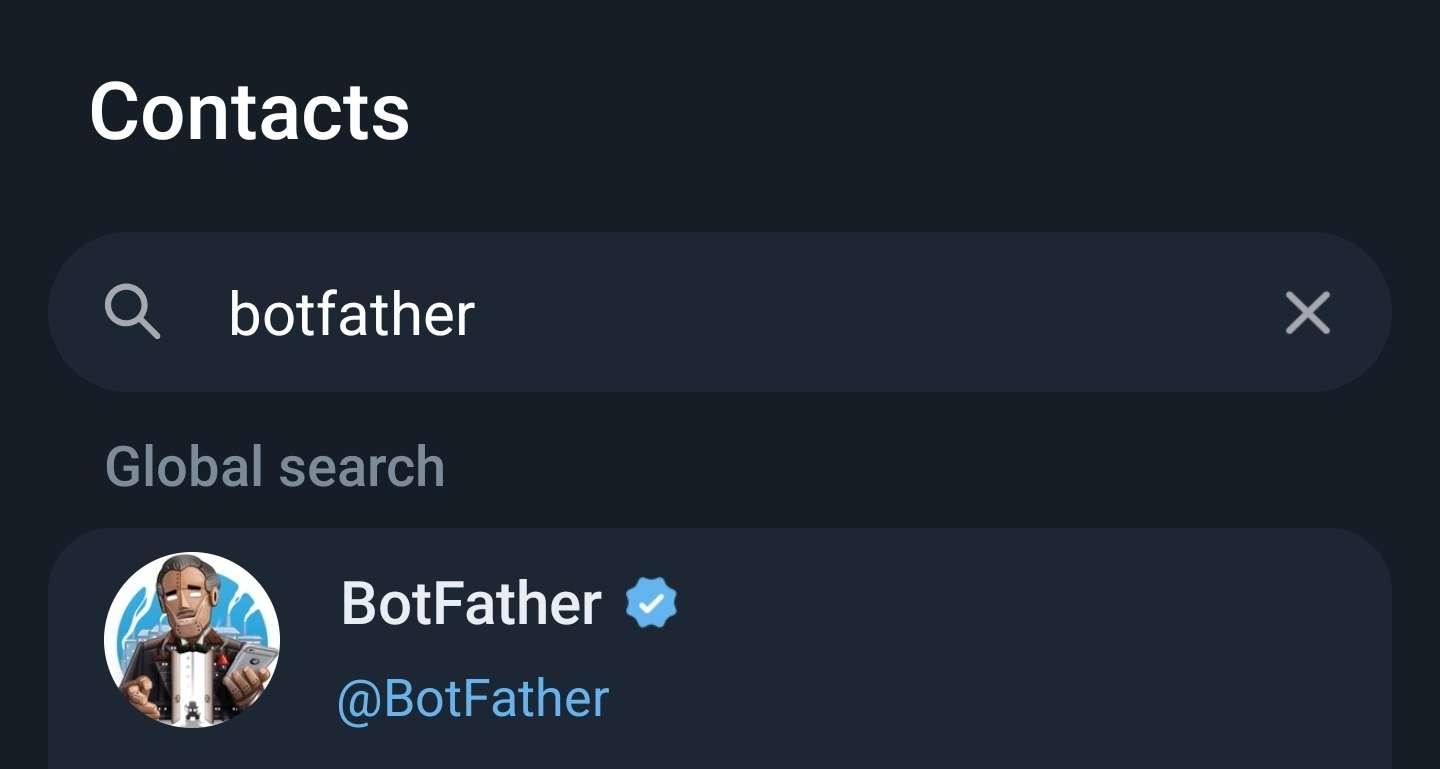
Create your bot in BotFather
Open Telegram, go to contacts, and search for @BotFather — confirm the handle is exactly that.
Start a chat and send:
/newbot
Follow the prompts: give your bot a name (e.g. “My Assistant”), then a username ending in bot (e.g. myassistant_bot). The name can be anything, but the username must be unique. BotFather gives you a token that looks like 7234891234:AABB.... Copy it.
Find your numeric Telegram user ID
You’ll need this to restrict the bot to your own account. Go back to the contact page and send any message to @userinfobot on Telegram. It replies instantly with your numeric ID (a plain number, not your username).
Configure Telegram
Both methods reach the same result. We recommend Config → Raw. It’s more reliable and easier to verify at a glance. The dashboard channel UI is still early and some fields don’t always behave as expected.
Option A: Config → Raw (recommended)
Head back to the Openclaw dashboard, look for config on the bottom left
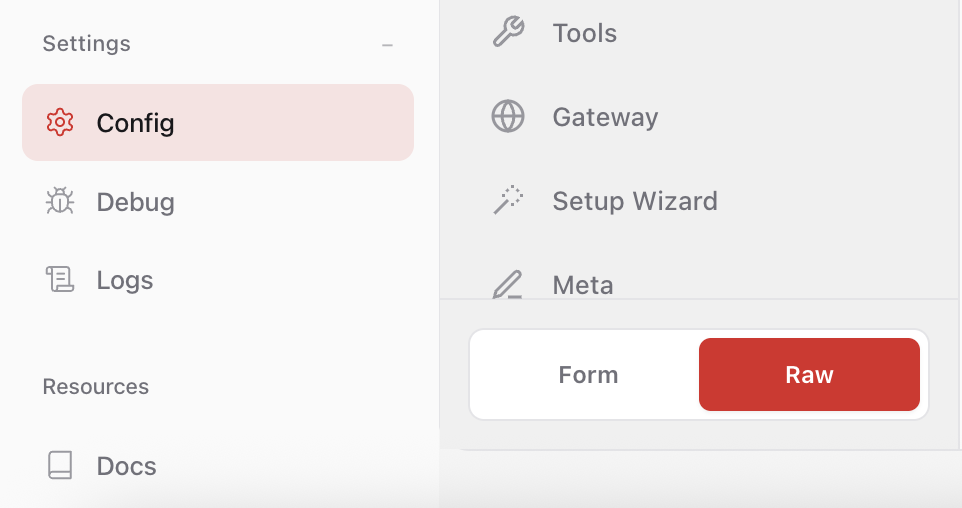
Go to Config → Raw. Add a "channels" block at the top level of your JSON. This is additive — everything else stays untouched:
You JSON config may vary, but it will look something like this:
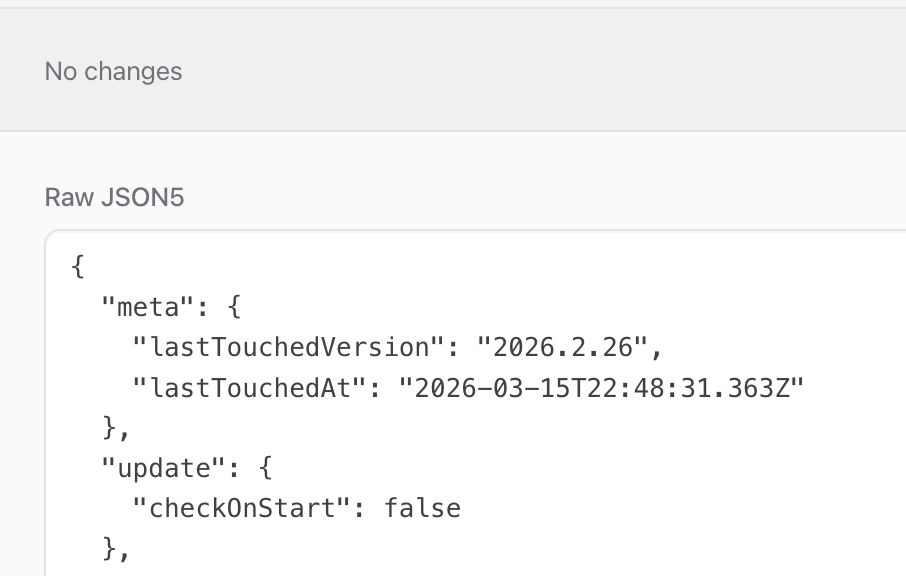
Paste the following right after the first opening bracket of your existing config
"channels": {
  "telegram": {
    "enabled": true,
    "botToken": "YOUR_BOTFATHER_TOKEN",
    "dmPolicy": "allowlist",
    "allowFrom": ["YOUR_NUMERIC_TELEGRAM_USER_ID"],
    "groups": {
      "*": { "requireMention": true }
    }
  }
},Hit Save, then Apply.
If the JSON becomes invalid at any point, paste it into any LLM and ask it to repair the syntax.
Option B: Dashboard UI (no code)
Go to Channels → Telegram in the dashboard sidebar.
- Paste your BotFather token into the Telegram Bot Token field
- Under Telegram DM Policy, select allowlist
- Under Allow From, click Add and enter your numeric Telegram user ID
- Make sure Enabled is toggled on
- Hit Save at the bottom of the page, then Reload
Why allowlist instead of pairing? Pairing is the default. Unknown senders receive a verification code before their messages are processed. For a personal assistant, allowlist with your own ID is simpler and more durable.
Test
Open Telegram and send your bot a message:
“Hey, it’s me — same conversation, new channel.”
You should get a response within a few seconds. If nothing comes back, check the Logs section in the dashboard for errors.
Step 3: Personalise your agent with SOUL.md
SOUL.md is the agent’s persistent system prompt — its identity, purpose, and ground rules. Go to Agents → [Your Agent] → Files → SOUL.md and edit it inline.
A minimal starting SOUL.md for a personal assistant:
# Who you are

You're a personal assistant running on an open-source model via Featherless.
You're direct, concise, and useful. You don't pad responses with filler.

# What you do

-Answer questions using web search when needed
-Remember what I tell you across sessions (check MEMORY.md)
-Summarise links I send you
-Remind me of things I ask you to track

# How you respond

Keep answers short unless I ask for depth. If you're uncertain, say so.
Use plain language, not markdown formatting, when responding in Telegram.
Keep SOUL.md under 2,000 words. It’s loaded into every session in full. Longer reference content belongs in MEMORY.md where it’s retrieved on demand.
Step 4: Check your persistent memory
Go to Agents → [Your Agent] → Files → MEMORY.md. After the introduction you sent in Step 1, your agent should have already taken notes: your name, timezone, preferences.
This is what makes it feel different from a chatbot. Every new session, on any channel, loads this file automatically. You can edit it directly if you want to add or remove anything.
Try it: start a fresh conversation in Telegram (or the Chat tab) without any context and ask:
“What do you know about me?”
It should recall everything from your earlier introduction.
Set a recurring reminder
“Every morning at 8am, message me in Telegram with a motivational thought.”
This sets a cron heartbeat. Your agent will message you unprompted at that time each day. Check Cron Jobs in the dashboard sidebar to see it listed and toggle it on or off.
Troubleshooting
Bot doesn’t respond in Telegram. Confirm the allowFrom value is your numeric ID, not a username. Send a message to @userinfobot to verify, update the config, and Apply.
Config changes not taking effect. Always use Apply after saving. If something still seems off, use Reload to resync the running config from disk.
Health shows something other than OK. Refresh the dashboard. If it persists, the sandbox may need a moment to restart. Wait 30 seconds and try again.
Complete openclaw.json
Your final working config for reference:
{
  "update": { "checkOnStart": false },

  "models": {
    "mode": "merge",
    "providers": {
      "proxy": {
        "baseUrl": "<http://localhost:18780/v1>",
        "apiKey": "__OPENCLAW_REDACTED__",
        "api": "openai-completions",
        "models": [{ "id": "smart-model", "name": "smart-model" }]
      }
    }
  },

  "agents": {
    "defaults": {
      "model": { "primary": "proxy/smart-model" },
      "models": { "proxy/smart-model": { "alias": "smart-model" } }
    }
  },

  "commands": {
    "native": "auto",
    "nativeSkills": "auto",
    "restart": true,
    "ownerDisplay": "raw"
  },

  "channels": {
    "telegram": {
      "enabled": true,
      "botToken": "__OPENCLAW_REDACTED__",
      "dmPolicy": "allowlist",
      "allowFrom": ["YOUR_NUMERIC_TELEGRAM_USER_ID"],
      "groups": {
        "*": { "requireMention": true }
      }
    }
  },

  "gateway": {
    "bind": "lan",
    "controlUi": {
      "allowedOrigins": [
        "https://18789-sbx-[your-sandbox-id].sandbox.featherless.ai"
      ]
    },
    "auth": {
      "mode": "trusted-proxy",
      "trustedProxy": { "userHeader": "x-forwarded-user" }
    },
    "trustedProxies": [
      "127.0.0.1", "10.0.0.0/8", "172.16.0.0/12", "192.168.0.0/16"
    ]
  },

  "plugins": {
    "entries": {
      "telegram": { "enabled": true }
    }
  }
}
What’s next
This is the entry point. Once you’re comfortable with a personal assistant setup, the same foundation scales.
The upcoming Support Triage Agent post in this series shows how a scale-up team uses an OpenClaw agent connected to Slack to classify inbound tickets, draft first responses, and route escalations — with no write access to production systems.
Resources
- Browse 30,000+ models: featherless.ai/models
- Try OpenClaw: featherless.ai/openclaw
- OpenClaw GitHub: github.com/openclaw/openclaw
- Telegram channel docs: docs.openclaw.ai/channels/telegram
Related articles
Start building under 3 minutes